Coordinate measuring machine technology can be confusing. Here are some tips to find the best solution for your measurement applications.
There comes a time in every manufactured part’s life when you must decide if it’s a good part or scrap. For most parts, a quick visual inspection simply isn’t going to cut it. And for industries such as aerospace, automotive, defense and medical, super-tight tolerances and zero-defect requirements mean not just verifying a part, but collecting the data so the part can be tracked, traced and proven to be manufactured to specifications.
Whether it’s to meet safety standards, form-fit-function requirements or simply to give your customer the peace of mind that you take quality seriously, often the best solution for these types of applications is a coordinate measuring machine (CMM). But with so many sizes, styles and measurement methods available, it’s hard to know what CMM system will be most efficient for your operations.
Here are a few considerations to keep in mind as you assess your options.
Do You Need A CMM?
The first question to ask when looking at CMMs is: do you need one? The best way to decide is to look at the part you need to measure. Is it a relatively simple shape made on a standard machine like a lathe, press or laser cutter? Does it have simple features such as flats and holes that can be measured with a micrometer or calipers to compare the results to measurements on the drawing? If you answered “yes” to these questions, you likely aren’t in desperate need of a CMM.
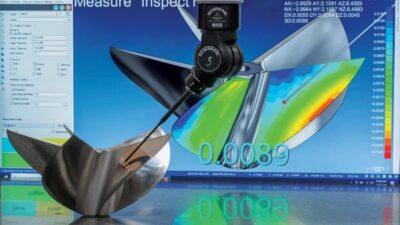
However, if the part has a contoured shape like a wing or a car fender, or was manufactured using five-axis CNC or 3D printing to produce complex geometries and features, a CMM is going to be one of the better options.
Inspection and measurement are more than just checking a part against specifications. Reverse engineering is also another common application for this technology. Any job shop or contract manufacturer taking on a mandate for a part that doesn’t have a CAD file—such as making spare parts for older equipment—can use a CMM to quickly define the product’s features.
The requirement to create a First Article Inspection Report (FAIR) is another good reason to invest in a CMM. These reports are common in automotive and aerospace supply chains and verify that the part has been built to specification. Any design that has a true position callout or profile callout on a complex contour will require proof it meets the model-based definition.
Choose the Right Inspection Technology
Once you’ve decided that in-house inspection technology is a requirement, the best way to decide on the most effective technology is to let the part decide. Scott Knoche, Reseller Sales Manager at CMM hardware and software company Verisurf, says there are a lot of misconceptions surrounding CMM technology and that there isn’t one machine that can do everything.
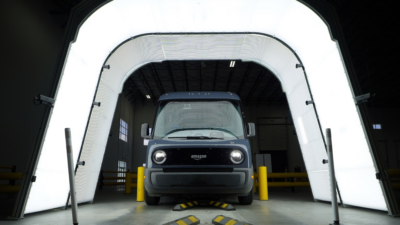
“One of the popular myths is that you need a scanner to do reverse engineering. Scanners are effective and affordable, but they’re not great for everything,” he says. “They don’t see down inside holes or around a sharp angle very well, and they’re not good with colors and reflectivity.”
He says a probe will be more accurate in these instances, and can get an inspection done faster on challenging parts.
The accuracy of a part’s features is another factor to consider when choosing a CMM. Some parts have tight tolerances to perform the job they were meant to perform. But Knoche says accuracy comes at a cost of both time and money.
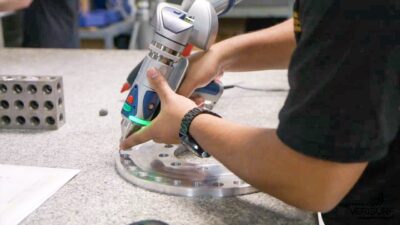
If accuracy is less important than inspection time, Knoche says a portable CMM arm may be the best choice compared to a stationary programmable CMM.
“Portable CMMs are generally a little less accurate than the stationary CMMs but they’re cheaper and faster in most cases. And if you need to measure something that has six or seven axes on it, you can use a CMM arm to get under the part, inside a feature as well as measuring all sides of it,” he says.
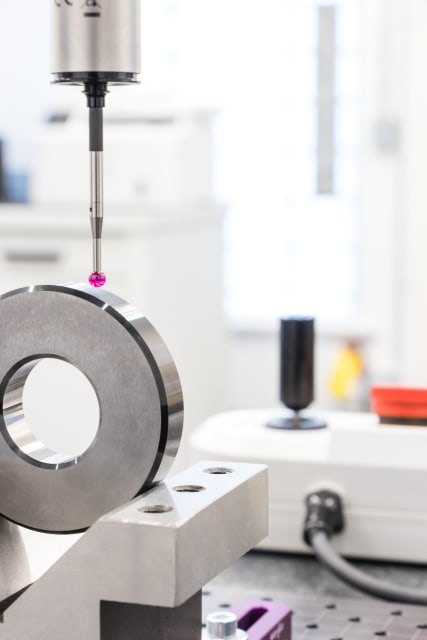
With a stationary programmable CMM, the part is fixtured on the CMM’s granite table. The probe will operate based on X, Y and Z axes. You might have to re-fixture the part on the table to measure every feature, which slows you down.
In general, faster inspection tends to be less accurate. If speed and accuracy are of equal importance, a good option might be a 5-axis CMM—which can measure as they rotate around a part—compared to a typical 3-axis CMM that must index to each angle and then measure. Another bonus for 5-axis is that the part won’t need to be re-fixtured on the table for the measurement head to reach all the required points. They also have integrated scanning capabilities.
“With these machines, the touch trigger probe will come in contact with the part and then scan in concert with the hard probe. It’s called tactile scanning instead of non-contact scanning. You’re touching with the probe and then zipping across the part and taking a stream of points, getting accurate data really fast.”
The trade-off, says Knoche, is that this technology is expensive—the way to get solid return on investment for this technology is if the productivity and part value are both high.
Size and Location Matter
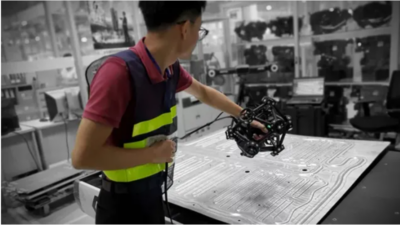
Just like any manufacturing equipment, the size of the final part will define the size of the machine required. If the item to be measured is large enough to walk around, using a portable device to conduct photogrammetry is likely your best bet. If inspection accuracy is paramount here, a very large gantry CMM is the expensive solution. Medium-sized parts work well on a standard touching CMM, while very small parts might need an optical comparator.
Location makes a big difference in the type of CMM to choose, as well. A traditional stationary, programmable CMM usually needs to be used in a controlled room to eliminate environmental and temperature variables. If the job requires shop floor measurement on the machine or at a customer site, a portable CMM is the obvious choice.
